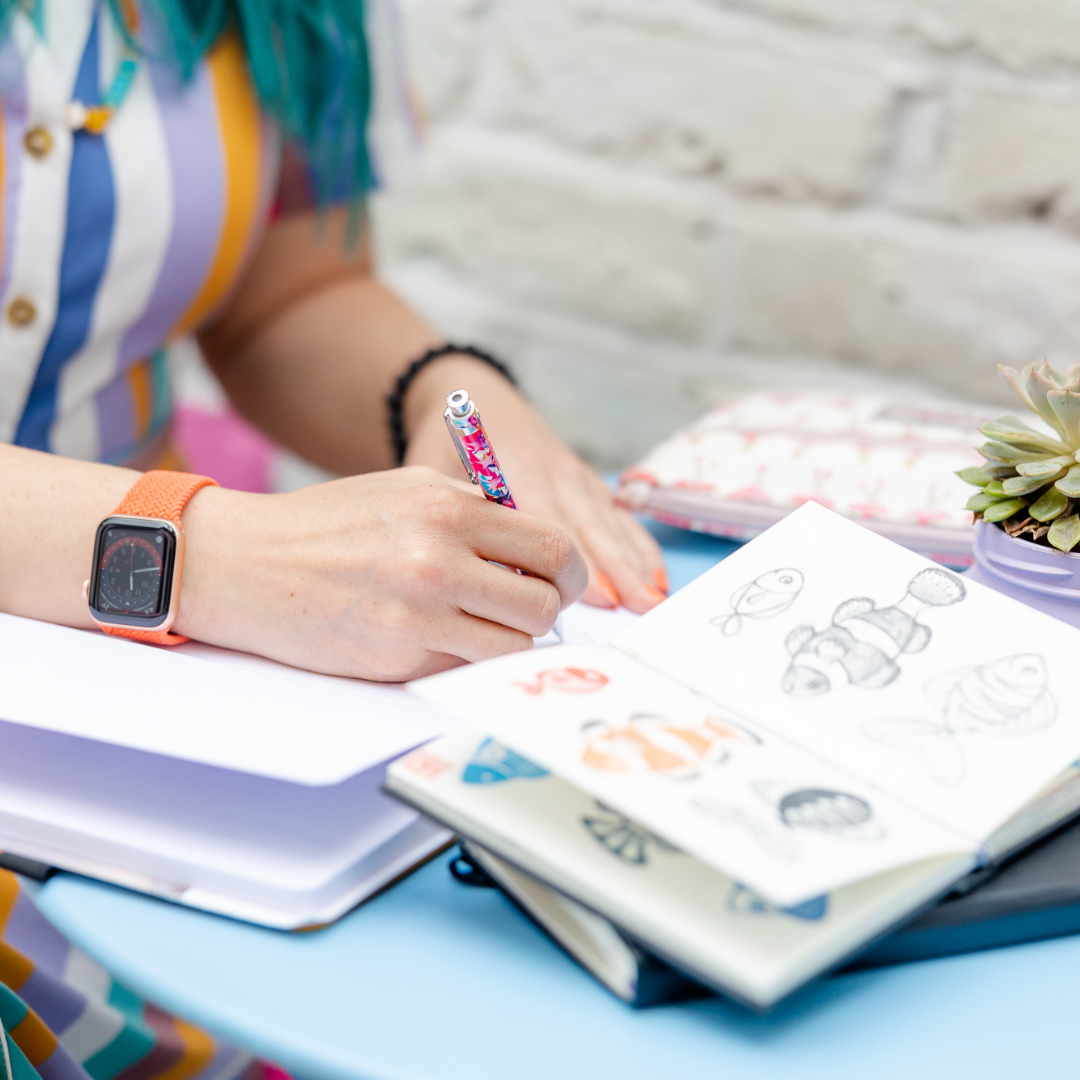
Today we are looking at creating a colourful page in our sketchbooks - playing with layering up different media on top of each other. This is a great chance to experiment with mixed-media. This tutorial was originally produced for my Inspire Creative Membership in March 2021. It is just a small snapshot of the monthly content (and back catalogue) you gain access when an Inspire Member.
Tools and Materials
- A piece of paper or sketchbook to work on (I used A4 mixed media paper that was around 250-300gsm thick.)
- Three different mediums to work with (I used watercolour ink, gouache and coloured pencils). You can choose whatever you have or whatever you prefer. You only need three colours of each and it is good to have a contrast in types of medium for this exercise.
- Paintbrushes (if using paint)
- Water (if using paint)
- Paint palette (if using paint)
Instructions
Start by selecting the following tools, colour and subject matter:
A. A simple shape (e.g circle, oval, leaf, hexagon, teardrop, square etc.)
B. Three colours (these could be similar colours that are close on the colour wheel or very different such as the cyan, magenta and yellow shown in the demo.)
C. Three different materials.
After selecting this you can get started. We are looking at how these three colours interact across three separate layers and three different mediums.
1. Start by laying down ares of colour in your chosen shape in your first material. Get big and bold and if using a material that mixes with water (such as paint) experiment with very wet areas and very dry.
2. Leave this layer to dry if required.
3. Now select your second material and work over the top of the first layer laying down more coloured shapes. Consider whether the shoes will simply pay over the top or fill in blank spaces.
4. Leave this layer to dry if required.
5. Finally select your third material to work over the previous layers creating more areas of colour. Here you can consider whether you want to add other details (as I did in the demo - it kind of flowed that way) or whether you are going to almost block out the lower layers with this layer.
Bear in mind that each and every piece created from this tutorial by all of you wonderful people will be VERY different. You will select different shapes, different colours and of course whatever mediums you have to hand and want to work with. Maybe this is a chance to experiment with something you have never used before (and had sat in the cupboard for a while? Perhaps try this a few times?
For more information on Inspire please visit:
